
The Microsoft Task Scheduler is an amazing little FREE tool that (in most cases) comes already with your Windows installation. This tutorial explains how to schedule already saved task using windows task scheduler. (To Save Job for scheduling please see Step by Step tutorial to schedule LDAP/AD export to Excel )
On Windows XP and Server 2003 (click here for Windows 7 or Windows 2008) you can start Windows Task Scheduler by clicking the 'ScheduledTask' from the Start Menu| Control Panel.
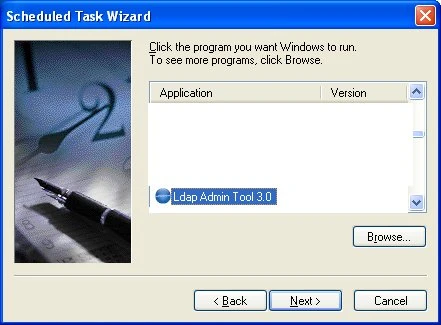
Double-click Add Scheduled Task. Click Next on the first wizard screen, select LDAP Admin Tool 3.0 from the program list.
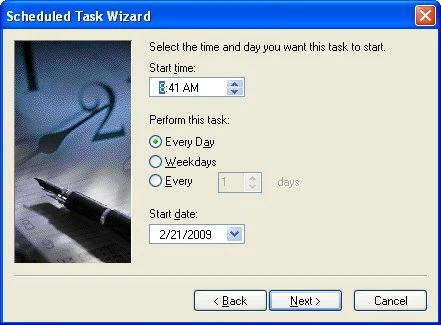
Enter a name for the task and set the scheduling options, Click Next.

Set the time and other options, Click Next
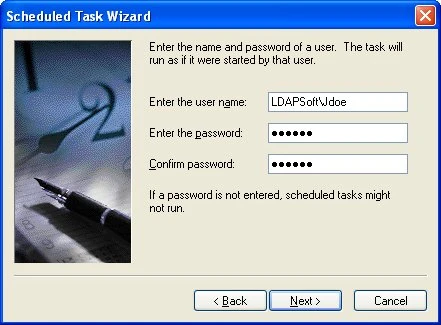
Enter the username and password the task will run as, and click Next.
Please note that you must be running the Task under the same user who created the scheduled job, scheduled jobs are stored in user home folder due to security reasons - password, binddn values. For example: if you have installed admin reporting tool on a windows 2003 or XP machine and logged on with a username 'Jdoe' and created a job for scheduling using Admin Reporting Tool, you must use the same username 'Jdoe' to run the scheduled task. If you want to run the task as a different user you must install Admin Reporting Tool under this user, again create a job for scheduling and then schedule it.
Check the Open advanced properties check box and click 'Finish'
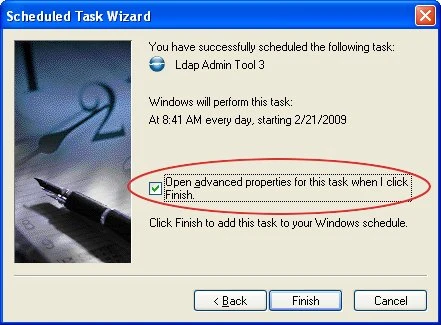
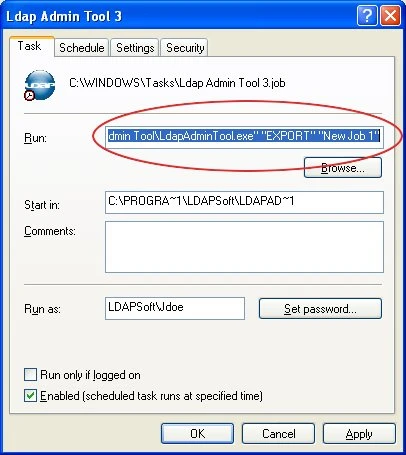
In the advanced options, paste the text in the 'Run' text box - the text you copied when you saved the export task and Click OK to save the task.
See Also:
How to schedule task using Windows scheduler (Windows 7 or Windows 2008)
How to scheduler task using Linux cron